
Load Cells in Dance Pads and Gaming Mats: A Field-Tested OEM Guide From Real Projects
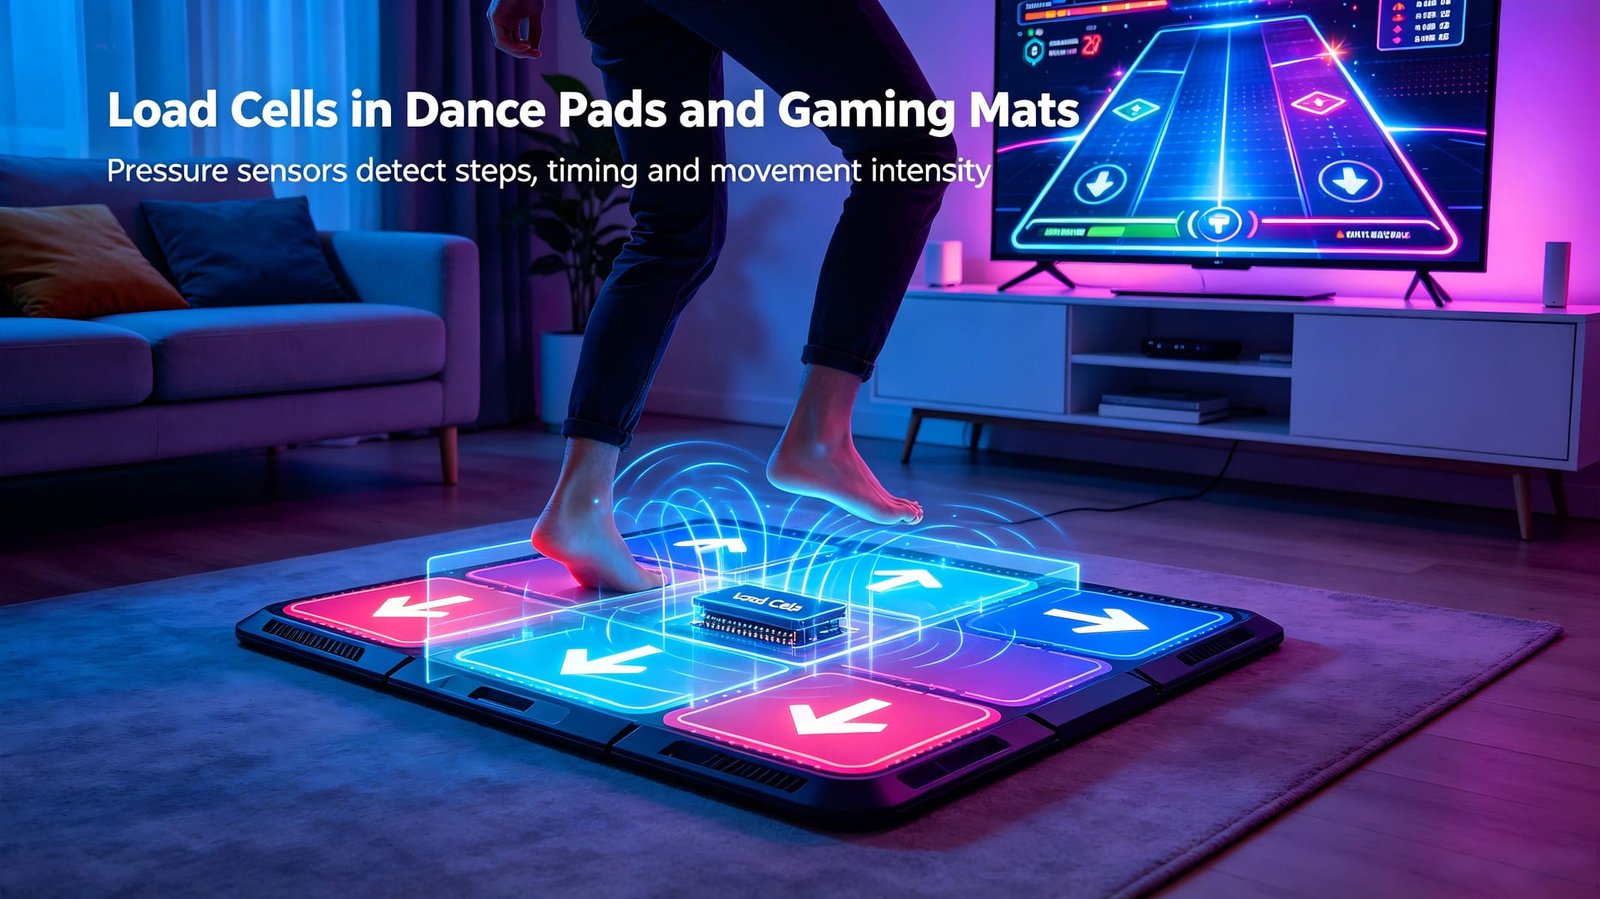
If you have ever stomped on a glowing tile in time with a beat, you have walked on a load cell. After twelve years of shipping load cells for export, the projects I am most often asked about now are not truck scales or hoppers — they are dance pads, interactive floor tiles, fitness mats, and arcade gaming rigs. The same physics, but the design constraints are very different: low height, fast response, repeatable force measurement, and a price tag that fits a consumer product.
In this article I want to walk you through two real projects I shipped in the last 18 months — what the client asked for, the mistakes we made, and how we settled on the right sensor. If you are an engineer or product manager evaluating load cells for a gaming mat, the lessons here should save you a few prototypes.
What you will learn: how dance pad load cells work, which sensor families I actually ship for gaming clients, how to avoid the four most common mistakes, and the BOM I recommend for a 9-zone force-sensing tile.
Table of Contents
- A Quick Story: How I Got Into Gaming Load Cells
- How a Force-Sensing Dance Pad Actually Works
- Project 1: 9-Zone Rhythm Pad for an Arcade OEM
- Project 2: Modular LED Fitness Tiles for a Fitness Brand
- The Four Mistakes I Have Made So You Don’t Have To
- Micro vs Flat Load Cells: Which One for Gaming?
- Sensor Models I Ship for Dance Pad Projects
- Wiring, ADC Integration, and the HX711 Question
- OEM Integration Checklist
- Where Dance Pad Sensing Is Heading
- Frequently Asked Questions
- Talk to Me About Your Project
A Quick Story: How I Got Into Gaming Load Cells
My company has been exporting load cells for over a decade. Most of our volume still goes into truck scales, batching systems, and food machinery — that is where the cash flow is. But every quarter I get a handful of inquiries that have nothing to do with industrial weighing. Someone wants to weigh a cat litter box. Someone wants a coffee machine to read grams. And someone, very often, wants to know “how do I put a load cell in a dance pad?”
The first gaming inquiry I took seriously was back in 2021. A small studio in North America was building an interactive dance floor for a children’s museum. They had tried capacitive touch sensors first. The problem was that touch only detects a finger or a foot — it cannot tell you whether a 25 kg child jumped or a 60 kg adult simply stepped on the tile. Their game designer wanted to register the intensity of a step so that the LED color and the game score could change accordingly. Touch sensors could not do that. Load cells could.
That first project taught me three things I now tell every gaming client on day one: (1) height matters more than accuracy, (2) repeatability under repeated impacts matters more than static precision, and (3) the load cell is the easy part — the mechanical mounting and the ADC firmware are where prototypes fail.
How a Force-Sensing Dance Pad Actually Works
Every dance pad I have shipped follows the same basic recipe. A flat panel on top (sometimes a printed graphic, sometimes an LED tile) sits on top of a foam cushion. The foam cushion transfers force to one or more load cells below. The load cells output a tiny voltage proportional to the force. A microcontroller reads that voltage, usually through an ADC like the HX711, and the game logic decides what to do — flash green, add points, deduct health.
- Force application: A foot lands on the top panel and produces a peak force of 2× to 3× body weight during running or jumping.
- Mechanical transfer: A foam or rubber cushion distributes the load over the load cell’s sensing area and protects the cell from side impacts.
- Strain gauge deflection: The load cell’s metal body deforms micro-scopically. Strain gauges bonded to the body change resistance in proportion to the deformation.
- Wheatstone bridge output: Four strain gauges form a full Wheatstone bridge. The bridge outputs about 1 mV/V of excitation, so a 5 V supply with a 50 kg cell produces roughly 10 mV at full load.
- ADC conversion: A 24-bit ADC like the HX711 amplifies the small signal and converts it to a digital reading, typically at 10 Hz or 80 Hz.
- Game logic: The host microcontroller reads the ADC, applies a threshold or envelope, and triggers the next action in the game.
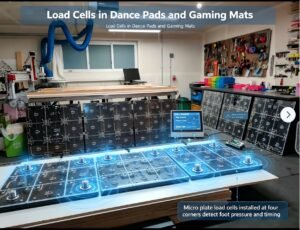
The client was an arcade game manufacturer in Eastern Europe building a dance-rhythm cabinet for shopping malls. Each player station had a 3×3 grid of square tiles, and each tile needed to detect the timing and intensity of a step. A perfect step would score maximum points; a weak or late step would score less. To make this work, each tile needed force resolution good enough to distinguish a 30 kg child from a 90 kg adult.
Their first design used a single point load cell per tile. They picked a 100 kg cell “to be safe.” That was their first mistake. A 100 kg cell at 1 mV/V output and a 5 V excitation produces only 5 mV at full scale. If the player weighs 70 kg and lands at 2× body weight during a jump, the actual force is 140 kg — already past the rated capacity of the cell. The output saturates, the ADC clips, and the game logic cannot tell whether the player stepped lightly or jumped hard. The first prototype had a flat-line feel: every step looked the same to the game.
I suggested we drop the capacity to 30 kg per cell, accept that jumping forces will exceed range, and instead use the rising edge of the force curve to score the step. This gave us much better resolution in the normal walking range (5 kg to 25 kg) and let the ADC distinguish a soft step from a hard stomp. The firmware team wrote a peak-detection algorithm and we started shipping samples within three weeks.
Lesson from Project 1: Do not over-rate a load cell for gaming. Pick the smallest capacity that covers the most common force range. Saturation during extreme impacts is acceptable if your firmware can use the rising edge.
The product has now been in shopping malls for over a year. The client reports a defect rate below 0.5%, mostly due to cable fatigue at the strain relief, which we have since addressed with a better grommet.
Project 2: Modular LED Fitness Tiles for a Fitness Brand
The second project was with a fitness startup in California. They were selling modular LED tiles to gyms. Each tile was 30 cm × 30 cm, 35 mm tall, and contained a rechargeable battery, an LED driver, and a force sensor. Customers could assemble a 2×2, 3×3, or larger floor in their studio. The fitness app used the force data to count reps, track balance, and provide haptic feedback during balance training.
Two design choices made this project harder than it looked. First, the tile height was locked at 35 mm — there was no room for a traditional S-type load cell. Second, the tiles needed to be assembled by end users without tools, so the load cell could not rely on precision-machined mounting hardware.
We supplied a flat-type micro load cell — about 40 mm long, 8 mm wide, and 5 mm thick — and a custom PCB that the client snapped into the base plate. The PCB had four standoffs that mated with the load cell’s mounting holes, so the assembly was tool-free. The challenge was the cable: the tiles were modular, and cables had to be replaced in the field without a soldering iron. We moved to JST-SH 4-pin connectors with a 1 mm pitch. This added $0.40 per tile but eliminated field returns caused by damaged cables.
Lesson from Project 2: Cable management is more important than sensor precision for consumer products. Use connectors, not soldered leads, and plan for at least 10,000 insertion cycles.
The fitness brand is now in their second production run. We supply about 8,000 load cells per quarter for this client.
The Four Mistakes I Have Made So You Don’t Have To
Across both projects, plus a dozen smaller ones, I have seen the same handful of design errors. If you are starting a dance pad project now, please avoid these:
- Oversizing the load cell: A 100 kg cell on a dance pad gives you poor resolution where it matters. Use the smallest cell that covers the typical force range.
- Skipping the mechanical preload: Even a 200 g preload from the foam cushion can cause drift over weeks. Always zero the system with the foam installed and the panel resting on it.
- Ignoring thermal drift: A dance pad in a sunlit studio can swing 30 °C between morning and afternoon. Cheap load cells drift by several grams per °C. Specify a compensated temperature range that matches your environment.
- Mounting the cell off-axis: Off-center loads reduce accuracy and create crosstalk between cells. Use a spherical washer or a guide pin to keep the load centered.
Micro vs Flat Load Cells: Which One for Gaming?
When clients ask me “what load cell should I use,” my answer is almost always the same: a micro load cell if you need height under 10 mm, or a flat-type (also called thin-beam or button) load cell if you need a higher capacity in a compact package. Both technologies use bonded strain gauges; the difference is mechanical geometry.
| Feature | Micro Load Cell | Flat / Thin Beam Load Cell |
|---|---|---|
| Typical capacity | 1 kg to 50 kg | 5 kg to 200 kg |
| Height profile | 3 mm to 8 mm | 8 mm to 20 mm |
| Mounting | Two M2 or M3 screws at each end | Through-bolts or center bolt |
| Best for dance pads | Tile heights below 25 mm, single-cell designs | Larger platforms, 4-corner mounting |
| Typical accuracy | 0.1% F.S. | 0.05% to 0.1% F.S. |
| Cost per cell | Low ($1 to $5 at volume) | Medium ($5 to $15 at volume) |
For most dance pad and gaming mat projects, a micro load cell is the right starting point. You get good resolution, a thin profile, and a price point that works for consumer electronics.
Sensor Models I Ship for Dance Pad Projects
Below are the four models I currently keep in stock for gaming clients. The specs are taken directly from our product sheets and represent typical production values. All are full-bridge strain gauge sensors with 4-wire output.
| Model | Capacity | Output | Size (mm) | Best Use |
|---|---|---|---|---|
| WST101 | 10–100 kg | 1.0 ± 0.2 mV/V | 34*34*H(mm) | Single-cell dance tiles, rhythm pads |
| WST105 (4-piece set) | 50kg | 0.7~1.3±0.15mV/V | 34*34*H(mm) | Children’s games, soft mats, low-force pads |
| WST1101 | 30–300 kg | 1.0 ± 0.15 mV/V | 70*45*H(mm) | flat type |
| WST106 (4-piece set) | 50 kg per cell | 1.0 ± 0.1 mV/V | 30*25*H(mm) | Four-corner platform mounting for full-body scales |
If you are unsure which model fits your project, send me your tile dimensions, maximum expected force, and the thickness budget. I usually reply with a BOM and a wiring diagram within one business day.
Wiring, ADC Integration, and the HX711 Question
Every micro load cell I sell follows the same color code for a 4-wire full-bridge connection. This is not an industry standard — different manufacturers use different colors — so always confirm with the datasheet. For the GALOCE series I typically stock:
| Wire Color | Function | HX711 Pin |
|---|---|---|
| Red | Excitation + (E+) | E+ / AVDD |
| Black | Excitation – (E–) | E– / GND |
| Green | Signal + (A+) | A+ / IN+ |
| White | Signal – (A–) | A– / IN– |
For dance pads specifically, the HX711 is almost always the right ADC. It is cheap ($1 in volume), runs on 2.7 V to 5.5 V, and offers 24-bit resolution at 10 Hz or 80 Hz. For multi-tile rigs with many cells, I sometimes recommend the NAU7802 or the ADS1231, both of which support I2C and can be chained.
For 4-corner platforms with one cell per corner, a junction box is required to trim and sum the signals before they reach the indicator or ADC. The standard 4-in-1 junction box we ship is the same one used in industrial platform scales — it is overkill for a game pad, but it works.
OEM Integration Checklist
Before you place your first production order, walk through this list. Every item is something that has bitten one of my clients in the last 18 months.
- Define the maximum expected force. Use 2× body weight for running, 3× for jumping.
- Pick the smallest load cell capacity that covers the typical force range — not the peak.
- Confirm the cell height fits inside your tile. Most dance pads need under 10 mm.
- Specify a compensated temperature range that matches your deployment environment.
- Use a foam or rubber cushion to distribute force and absorb side impacts.
- Plan cable routing with strain relief or use JST connectors for tool-free assembly.
- Zero the system after the foam and panel are installed, not before.
- Select an ADC: HX711 for single-cell, NAU7802 for I2C chains, ADS1231 for high sample rates.
- Write a peak-detection algorithm that uses the rising edge, not the absolute value, for step scoring.
- Run a 100,000-cycle fatigue test on the assembly before tooling up.
Where Dance Pad Sensing Is Heading
The requests I get today are very different from the requests I got in 2019. Here is what I see changing in real time:
- Higher tile density: The 3×3 grids of two years ago are giving way to 4×4 and 5×5 layouts. More tiles means more cells, which means more care with crosstalk and signal routing.
- Fitness and rehab integration: Studios and physical therapy clinics want balance scoring, weight-shift detection, and gait analysis. These features need higher accuracy than rhythm games.
- VR and AR pairing: Tiles are being sold as accessories for VR treadmills and AR training systems. The sensing has to coexist with wireless audio, haptics, and battery charging.
- Lower cost per cell: Chinese manufacturers are pushing micro load cells below $1 in volume. This is great for the industry but means more quality variance. Always test a batch before locking in a supplier.
For an interesting read on the wider gaming-tile ecosystem, take a look at the projects from Activate in Canada and the team behind We Love LAMA — they are two of the most active studios in this space and a good source of inspiration for product designers.
Frequently Asked Questions
What is the best load cell for a dance pad?
For most dance pad projects, a micro load cell in the 3 kg to 30 kg range is the best starting point. Look for a height profile under 10 mm, a full-bridge 4-wire output, and an accuracy class of 0.1% F.S. or better.
Can I use one load cell per dance pad tile?
Yes. Single-cell mounting works well for tiles up to about 40 cm × 40 cm. For larger platforms, use four cells, one at each corner, with a junction box to sum and trim the signals.
How accurate does a dance pad load cell need to be?
For rhythm games, ±5% is plenty. For fitness and rehab applications where you want to measure balance shifts in kilograms, you need ±1% or better, which means choosing a higher accuracy class cell.
Do I need an HX711 for a dance pad?
The HX711 is the most common ADC for hobby and small-batch projects. For production runs with many tiles, the NAU7802 or ADS1231 give you I2C chaining, lower cost per channel, and easier firmware.
How long does a micro load cell last in a dance pad?
In a commercial arcade, expect 3 to 5 years. In a home fitness product, 5 to 10 years is realistic. The biggest failure mode is cable fatigue at the strain relief, not the sensor itself.
Can a load cell distinguish a soft step from a hard step?
Yes, but only if you pick the right capacity. A cell with too much range cannot resolve the small force differences. I usually recommend a 20 kg to 30 kg cell for adult users and a 3 kg to 5 kg cell for children’s products.
Where can I buy micro load cells in small quantities?
Most micro load cells are available from Chinese suppliers in 10-piece minimums. For evaluation samples, I send 3 to 5 pieces per model so clients can test multiple capacities in parallel.
Talk to Me About Your Project
If you are designing a dance pad, an interactive floor tile, or any consumer gaming product that needs force sensing, I would love to hear about it. Send me your tile dimensions, the maximum expected step force, and any height constraints. I will reply with a recommended load cell model, an ADC pairing, and a price quote for the quantity you need.
What to include in your inquiry: tile size and height budget, maximum step force, expected annual quantity, target country for shipping.